Adding a Chat Client to a LangGraph Assistant
Previously, I deployed an enhanced retrieval template to langgraph cloud. Now, I want to point a chat client to it using assistant-ui.
The following are required before deploying the chat client:
- An existing node.js installation.
- An active deployment on the LangGraph Cloud API Server. Assistant UI can be also be installed in an existing React Project, as covered in the assistant-ui langgraph cloud docs.
To create a new chat client, I’ll follow these steps:
- Ensure
npxis installed.npm install -g npx - Create a new project based on the LangGraph assistant-ui template
npx create-assistant-ui@latest -t langgraph my-app -
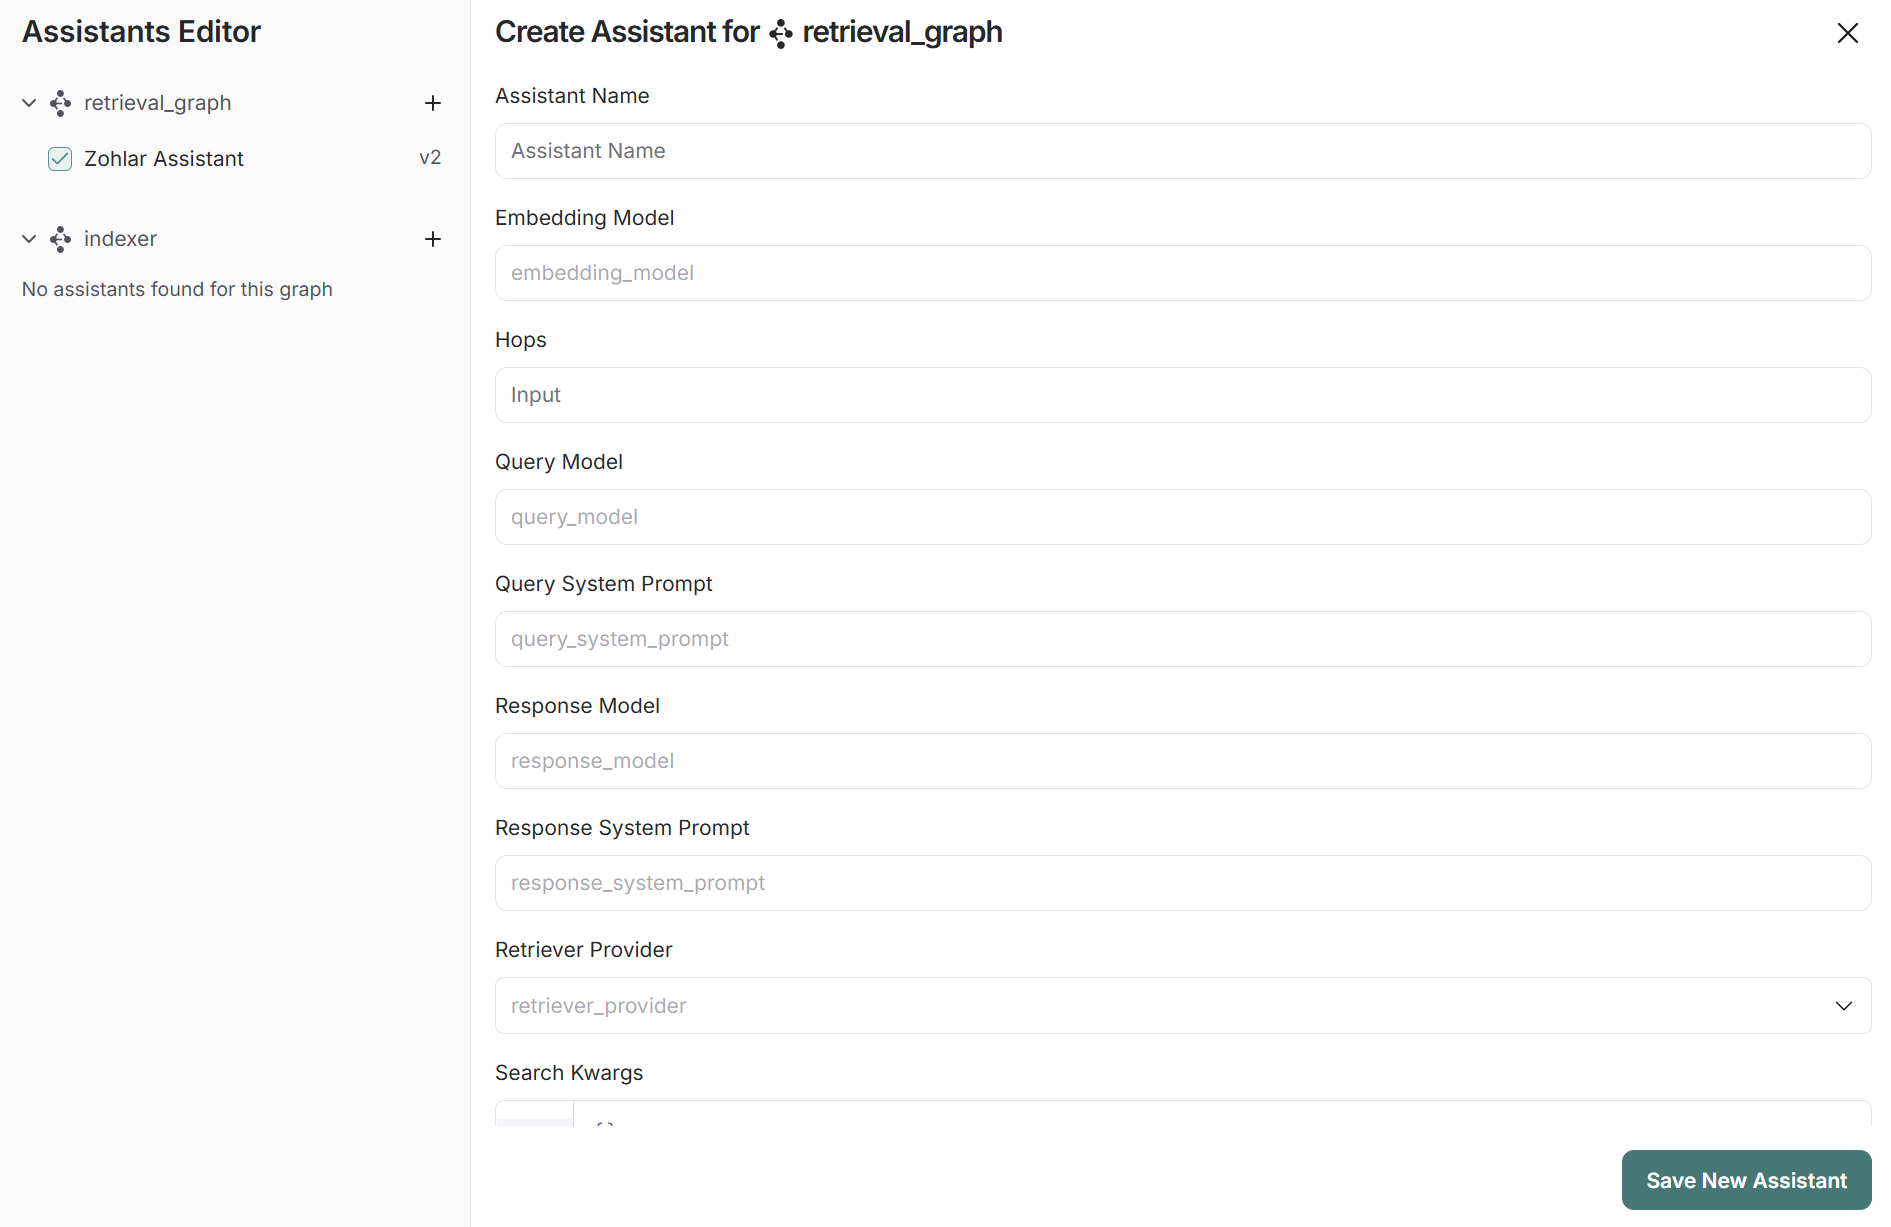
Create a new assistant for your graph on LangSmith using LangGraph Studio or the API Docs.
- Create an
.env.localfile in your project with the following variables:LANGCHAIN_API_KEY=your_api_key LANGGRAPH_API_URL=your_api_url NEXT_PUBLIC_LANGGRAPH_ASSISTANT_ID=your_assistant_id -
Ensure the LangChain API Key is also present in your LangSmith API Keys to allow access to your deployments.
- Navigate to the
assistant-uiproject root folder and start the node.js server.npm run dev -
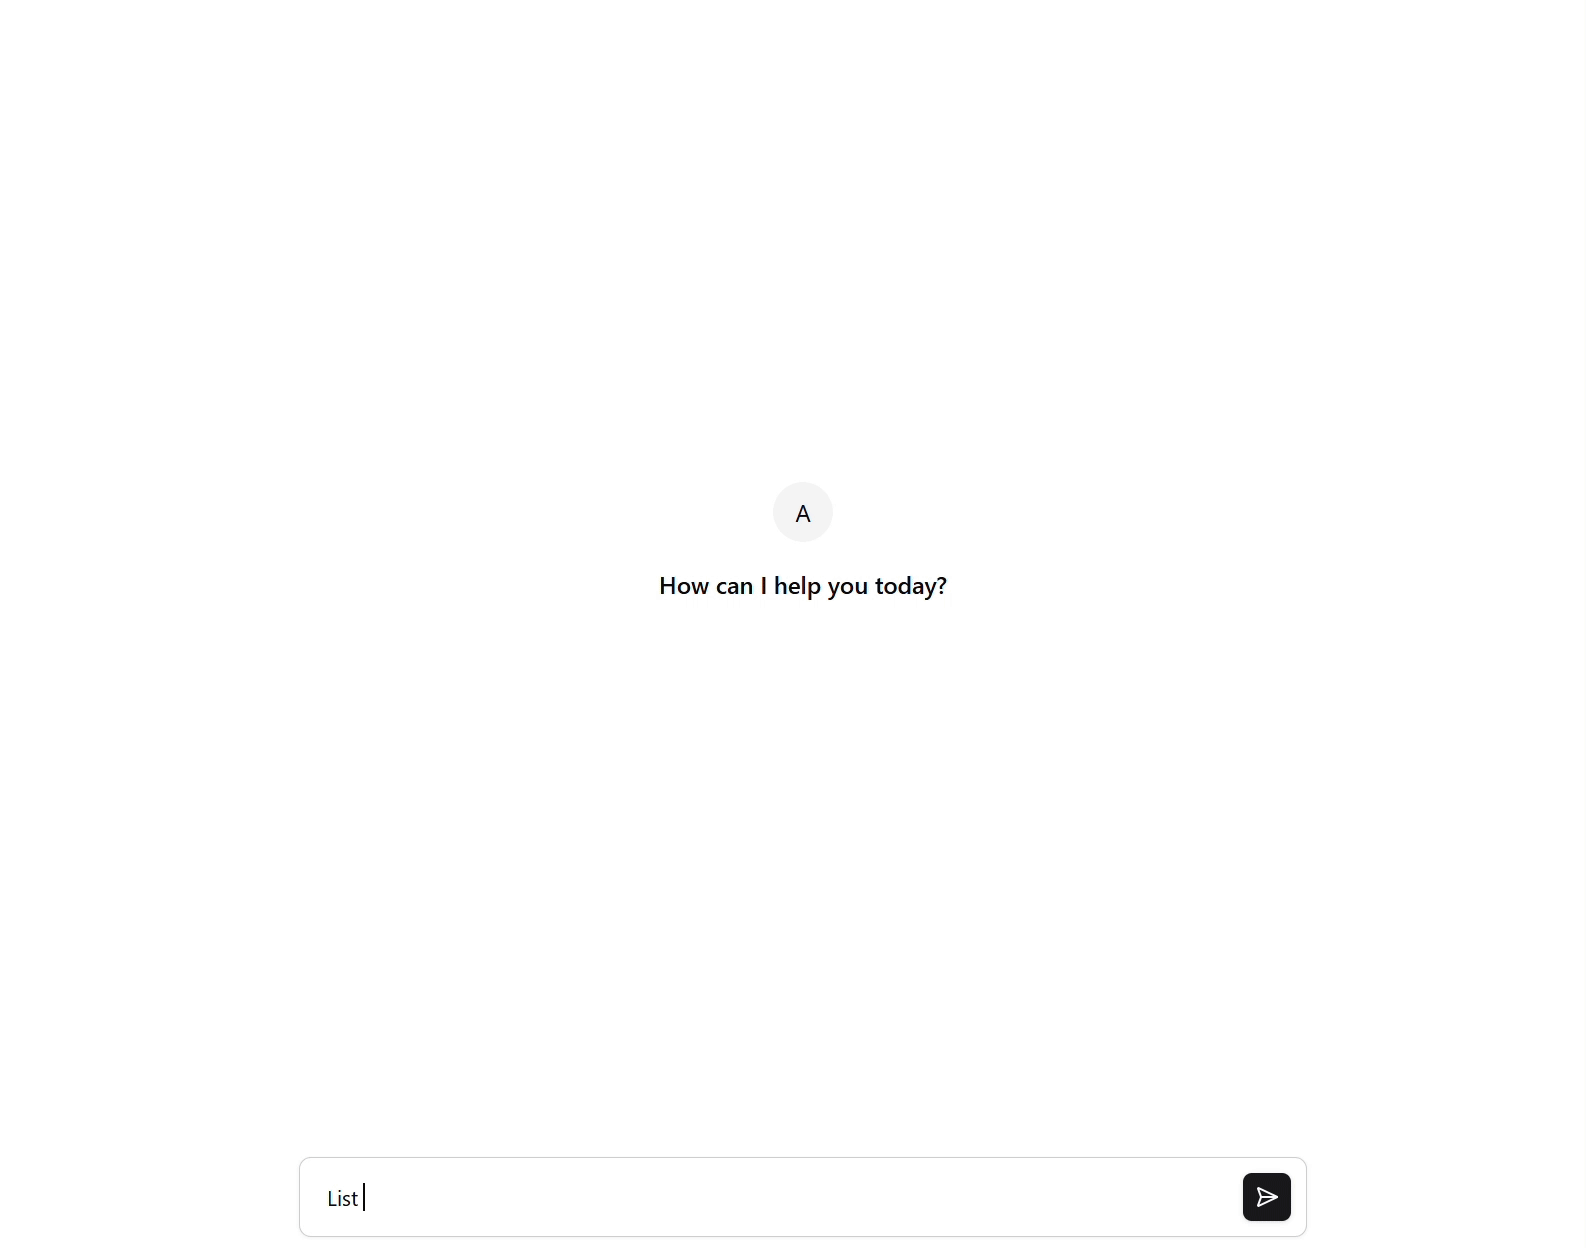
You can now use the Chat Client using the server’s port! (https://localhost:3000 in my case)